|
||||||||||
|
|
||||||||||
|
||||||||||
|
|
||||||||||
|
British Aerospace Harrier and Sea Harrier Image Gallery 2 Gallery 1 | Gallery 2 | Gallery 3 | Gallery 4 | Gallery 5
|
||||
|
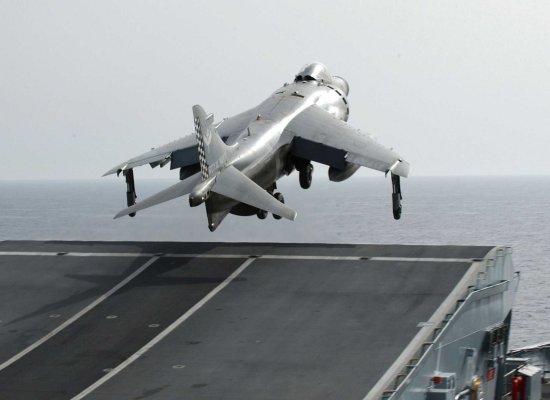
Sea Harrier using the ski jump of a Royal Navy aircraft carrier as it takes off | |||

|
Harrier GR.3 attack planes during the Falklands War, the closest carrying Paveway laser-guided bombs | |||

|
Spanish AV-8S rotating its nozzles as it transitions from vertical to forward flight | |||
|
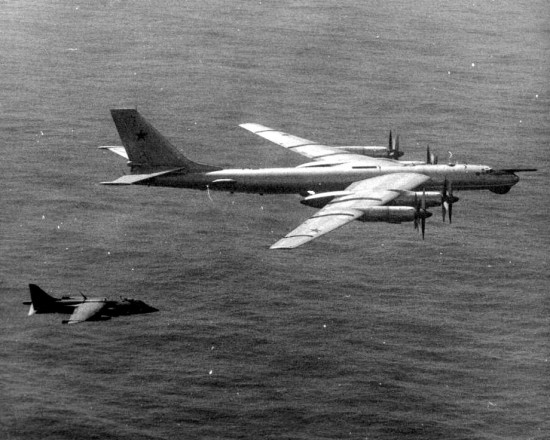
US Marine Corps AV-8A intercepting a Soviet Tu-95 in 1976 | |||

|
Two-seat Harrier trainer showing its ventral fin for improved stability | |||

|
Sea Harrier FRS.1 carrying Sidewinder missiles as the British fleet encouters rough seas during the Falklands War | |||

|
British Harrier GR.1 flown by the Royal Air Force | |||

|
Pair of Sea Harrier FRS.1 fighters preparing to takeoff alongside a Royal Air Force GR.3 | |||

|
Harrier ground attack plane salvoing all four of its under-wing rocket pods | |||

|
Wreckage of a Harrier GR.3 that crashed during the Falklands War | |||
Gallery 1 | Gallery 2 | Gallery 3 | Gallery 4 | Gallery 5


|
Aircraft | Design | Ask Us | Shop | Search |
|
|
| About Us | Contact Us | Copyright © 1997- | |||
|
|
|||
